Welcome to my Blog

Welcome everyone, I hope to inspire you and share some of my papercraft work. You can find out where I teach and what I am up to, what inspires me and what I am working on next. I love to share new ideas and neat ways of adding creativity to your pages or cards etc

my blog

Tuesday, December 19, 2023

Christmas Layout


Joy Overload Layout 

By Sue Smyth 

With Christmas on the way, we will all have lots of photos to scrapbook , I also like to make layouts to give as gifts, I have given my nieces an album each and every year I add to it in the form of new layouts. I am sure this will be one that I will send their way too.


I love to start a layout with white cardstock and make my own mixed media background. Here I have used shimmer dusts to make a water colour style background. Then I have used Deck the Halls paper pack to embellish, from Bee Arty.


Here are a few close ups, the frame is a die cut piece that I have used cotton to sew on, you could actually to this to a chipboard frame too with a bit of patience and a hole punch. 


Here is a quick how to to make the Pine trees look so snowy 


To alter the chipboard fir trees, I have used a mix I like to use often, Faux snow, which is 1 part white gesso and 1 part white glitter with a few drops of dimensional magic too.


But this time I have painted over the top in sections to resemble a gree tree with snowy branches. I have used Fern shimmer dust from Colour Blast. While wet I have sprinkled with lots of fine white glitter. You can also use the faux snow mix to paint the chipboard snowflakes too and then sprinkle with more glitter.


Happy Crafting 

The Chipbord I used 


Sunday, November 19, 2023

Gingerbread Man Recipe Book

 Gingerbread Man Recipe Book 

By Sue Smyth 

Christmas is my favourite time of the year, and I love to make home decor and practical things for Christmas. This year I have made a decorated book, with a gingerbread feel, to store all my notes or recipes or whatever you like. Of course I have used lots of Dusty chippie to embellish the cover.


First  I started with an ordinary note book A5, you can pick these up easily at Kmarts and large stores. Sometimes they are on sale which makes it even better. To paint the background of the book, I have my first recipe, mix brown paint with a few teaspoons of baking powder, this makes a great gritty paste to paint not only books but also chipboard. Once dry, I have sponged a lighter brown over the top to resemble a Gingerbread texture and feel.


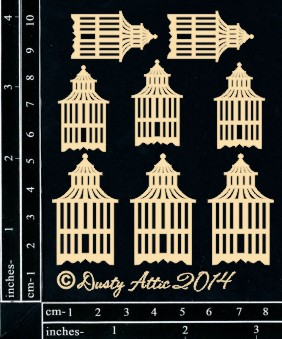
I have used a Dusty Attic, Mini Arched window, which I have painted with a mix I love to use, called Faux Snow. The second recipe is,
1 part gesso and 1 part white glitter,
 (fine or large will change the look of the grit) 
I like to add a few drops of dimensional magic
 too to add to the adhesive properties of the gesso. Then I use it as I would snow, I have stippled it all over the Arched window for a frosty look.


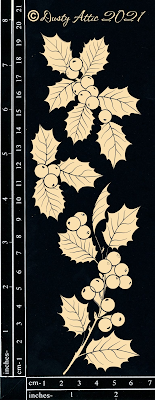
The next way I like to alter Chipboard, especially engraved chipboard, where it is important to keep the coverage light so the engraving can show through. First paint with a light coat of gesso, then dry, repaint with another light coat, dry well, then I have used Colour Blast Shimmer dusts to paint the holly and berries, I have used Fern and Candy here. I like to let the first coat dry and then add accents with a second coat. then to finish, spray with a little hairspray to set, if you are quick, sprinkle with a fine layer of white glitter for an amazing sparkling finish. 


All the other chipboard, snowflakes and corners are simply painted with 2 coats of white gesso, first I like to paint with a thin coat, to cover all the burnt chipboard, then when it is dry, you can repaint so that the look is much whiter. Sort of like doing a crumb coat with icing on a cake and the final coat looks better with no crumbs, lol


I have added dimensional magic to the holly berries for a nice shine and to seal the shimmer dust well. Add a purchased Gingerbread man decoration on the corner too.


Here I have used paper straws, red and white stripe to give a cute Christmas look, to the book, I enjoyed making this book and hope you give it a go, it would make a wonderful gift, especially if you include a few recipes inside ..


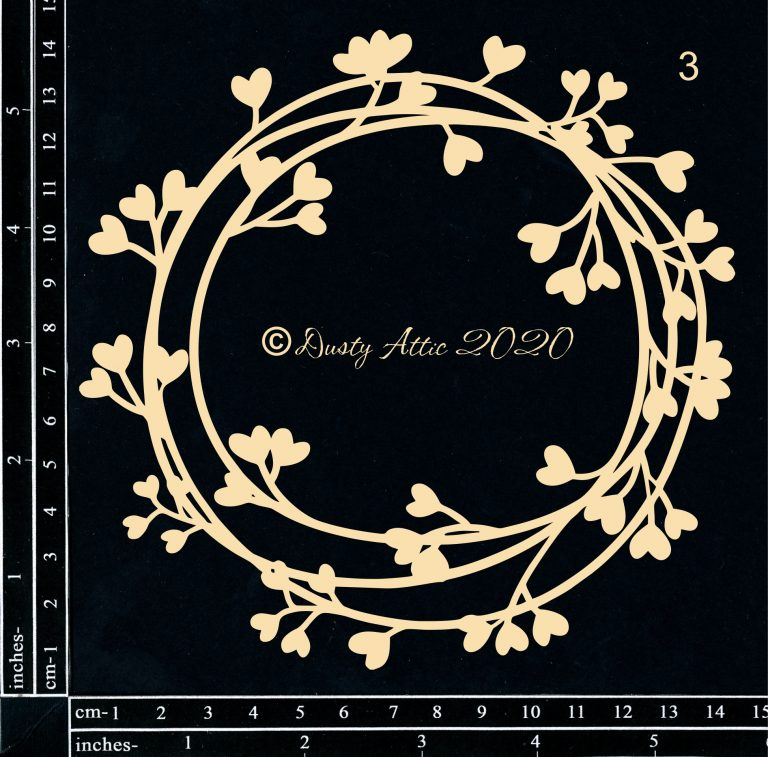
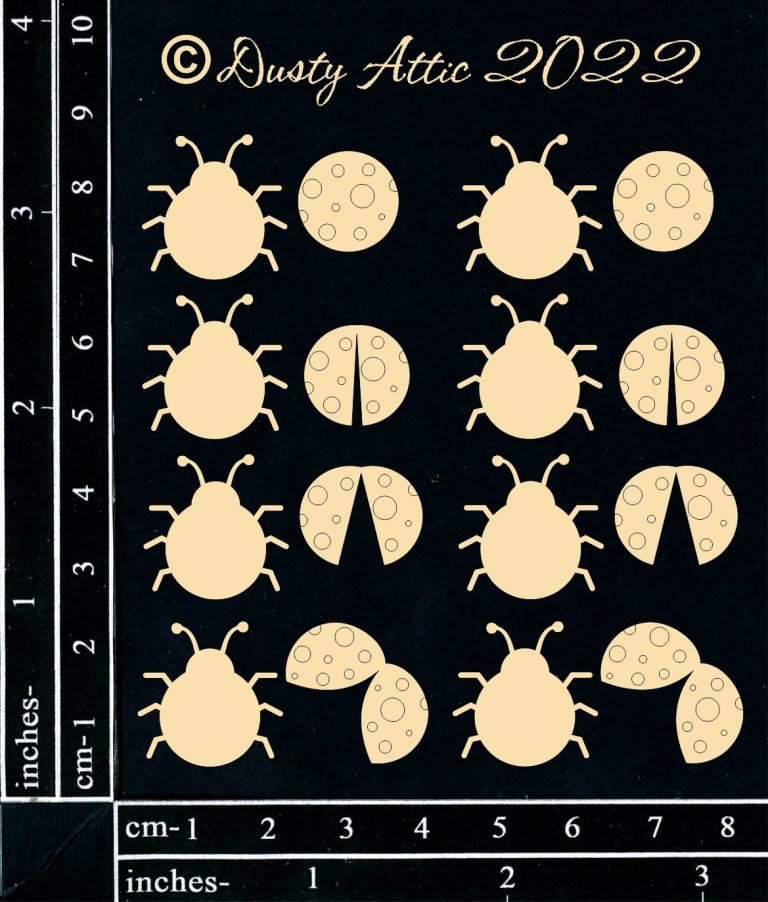
Here is the chipboard I have used
Happy Crafting everybody 


Thursday, October 19, 2023

Halloween project

 Gothic Gravestone 

Hello Crafters 

Today I am sharing a little Halloween project, Halloween is one of my favourite holidays to decorate for, just behind Christmas, as a frustrated interior decorator, I am always thinging of things to make to decorate. I just love the spooky and gothic imagery and keep quite a few objects up all year around. I found a lot of these MDF gravestones at Kmart, on sale so I decided to buy a lot of them, knowing one day I will use them. Then I saw the Dusty's Raven with top hat and I just had to make this faux gravestone with an Edgar Allan Poe feel. 


There are so many chipboard elemtents on here, 
I have used them in layers to build up the design
Here are some nice close ups for you to enjoy.


Here is how I altered the Raven 


Paint the raven with Black gesso, then use liquid pearls, any colour to 
draw in details, ie the wing, eye and band on the top hat.
Then paint again with Black gesso when dry. Dry very well.
I have added a resin wing that just happened to suit very well, but
it would look just as good without it. Once dry rub over 
a copper wax or metallic paint to highlight the raised areas. 


To alter the chipboard corners, again paint with Black gesso and dry well.


Then apply a gilding glue to the chipboard, there are a few on the market,
or sometimes you can just use tacky glue and with good timing 
apply the gold foil so that it sticks to the just dry glue.
The gilding glues on the market make this step easy
as you dont have to time it, once dry(but still tacky) you apply the 
gold foil for a fractured gold look.

Chipboard elements I have used.


Happy Crafting 


Tuesday, September 19, 2023

Born to fly layout

 Born to fly Layout and bonus card 

Hello Crafters 

Today I am sharing with you all, a sweet layout and a little card I made with my latest paper design for Bee Arty "Songbird Melody" Featuring lots of Dusty Attic chipboard. They make the perfect addition to my layout and I will show you some of the techniques I use to alter them to fit the shabby chic style and colours of this paper pack.


I have created a base, by painting the patterned paper with clear gesso, I love the feel it leaves on the paper, 
and also it makes a good barrier to the paper if you want to use 
mixed media, the paint will not soak in and you can move it around more. You can also wipe off any mistakes easily too


I have altered chipboard for my layout, 
 a gorgeous wreath to go around the photo, some chipboard leaves
which I have made to resemble feathers, some cute ladybirds, bird cage and a leafy flourish


To alter I have first painted the chipboard with white gesso, in a stipple motion
so that it is patchy and some of the chipboard colour is showing through.


Then I have applied some Colour Blast shimmer dusts, peacock and paris mixed with a little water over the top, again in a patchy way, it is better to do one colour and then dry, before adding the next colour. I have then dry brushed a little mint chalk paint over some of the leaves and when dry, I have dotted the leaves with a white paint pen. I like to also spray with a little hairspray, I know if sounds funny but this gives it a subtle shine, and if you want to sprinkle with a little white glitter you can, it will stick to the spray.

Bonus card idea 


Here is a bonus card, I have made a wallet style card, from a 12 x 12 sheet of cream cardstock. There are many templates and ideas on line, then I have trimmed paper to fit, and added some tags, all from the Songbird Melody paper pack 


You can add as many tags as you like, or tickets, scratchies or even photos to finish you card, punch holes in the tags and attach some fine blue ribbon or whatever you have.


To alter the frame, first I have painted it with white gesso, you may need 2 coats to get a really good white finish. Then dry well with a heat gun.


Then I have blended brown ink around the edges, inside and out. Then I  have stamped a crackle style stamp in brown ink randomly over the frame. In this instance I have used Bee Arty Wing fragment stamp. This gives you the look of a shabby chic crackled frame. Great for cards and layouts.

These are the chipboard elements I have used